


One of the greatest benefits to using Acumatica ERP is its vast customization capabilities. The Acumatica Customization Platform allows anyone, from the every day Acumatica user to the experienced programmer, to easily customize Acumatica ERP.
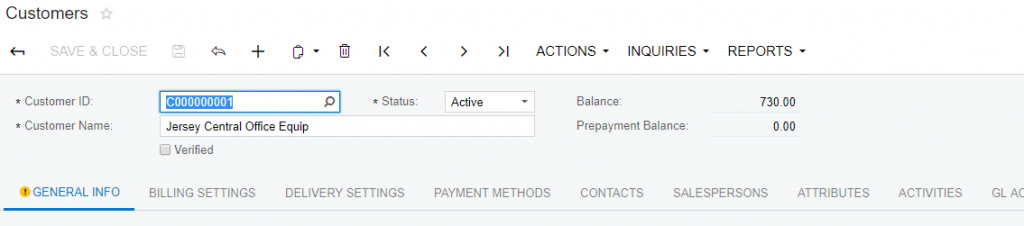
Let’s say for example, that you want to add a new field to field to the Customer Screen (AR30300) that is a check box called ‘Verified’. I can easily add this to my Acumatica ERP system with no coding or programming knowledge whatsoever in under 5 minutes.
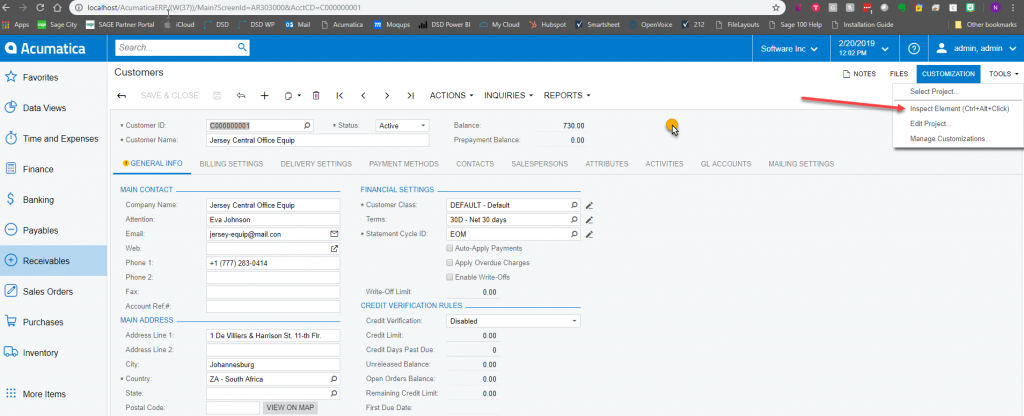
First, I’ll open the screen where I want to add the field and select “Customization” then “Inspect Element”.
Next, click the area of the screen where you want to add the field. In this case, I’ll click the black are next to the “Balance” field.
An “Element Properties” Window will appear. Click on “Customize” then “New” to create a New Customization Project. Enter the Project Name you would like to assign and click “OK”. Then “OK” again in the next screen.

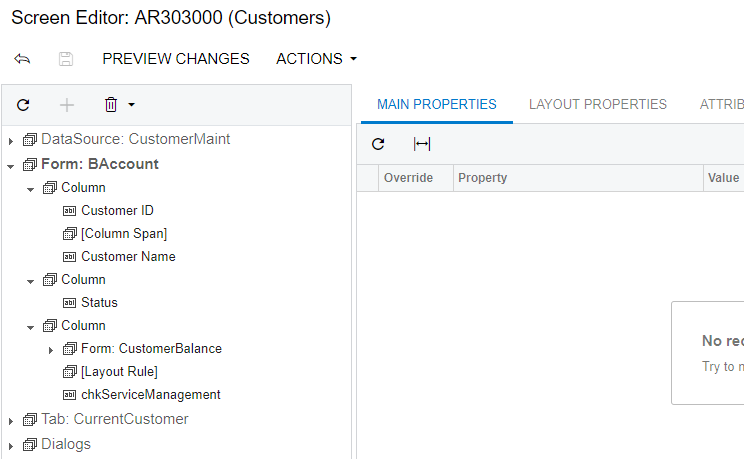
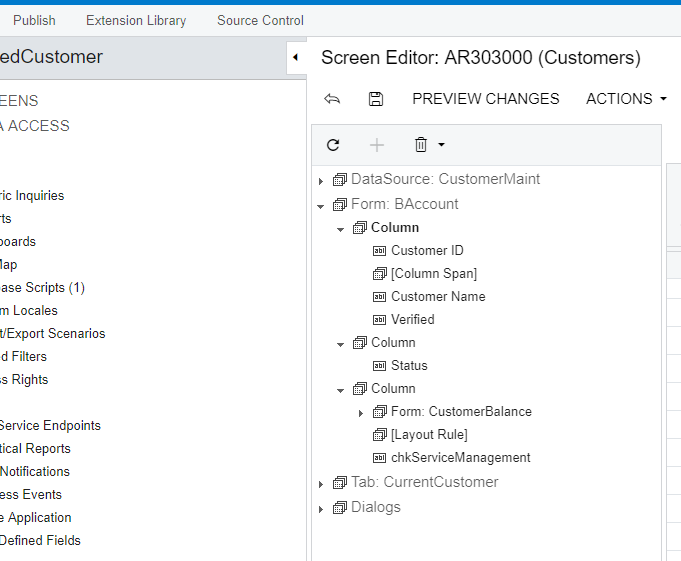
The Acumatica Screen Editor will appear. Expand the levels in the form tree to see the various elements on the form. Note: some elements on this list may not show on your actual screens depending on setup options on your system. For example, the ‘Service Management’ checkbox will show within the Screen Editor but may not appear when you look at the actual screen.
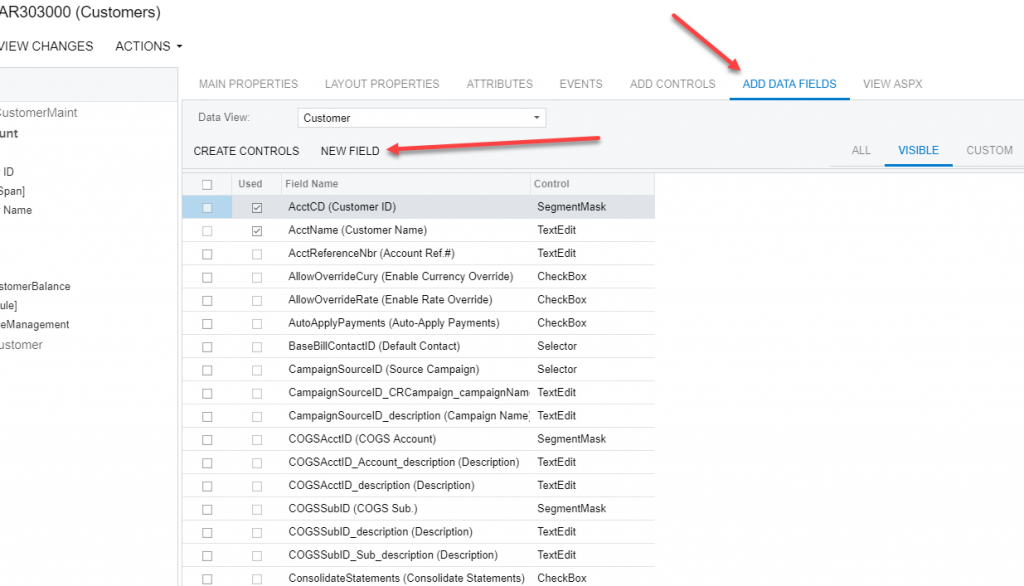
Select the “ADD DATA FIELDS” tab. This tab will show existing fields not added yet to the screen, and it also provides the ability to add an entirely new custom field as well. In our example we are adding a new custom field, so we will select “NEW FIELD”.
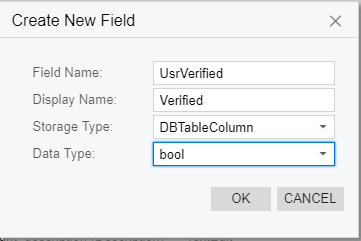
For this field, I will type “Verified” as the field name. Acumatica automatically adds the “Usr” to the field name so that the system knows this is a field created by the user. I will set the storage type to “DBTableColumn” and data type to “bool” since this is a checkbox. For more information on the various options in this screen, check out the help system in Acumatica which is very useful in explaining the different options.
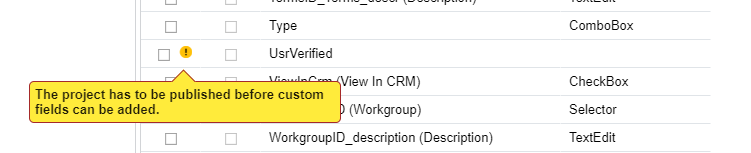
After hitting “OK”, you’ll now see your new field listed with an exclamation icon, showing the below.
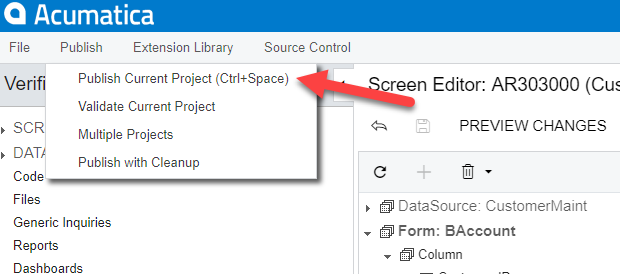
Go ahead and select Publish – > Publish Current Project from the menu.
Your Acumatica ERP website and database will now be updated with the new field. Note: because you are changing the database I recommend that you make sure you have a current DB backup and have users out of the system when performing this update.
After publishing is complete, refresh your browser window, select “Form: BAccount” in the tree and the “ADD DATA FIELDS” tab again. You’ll see your field listed with the exclamation point gone. Now you’re ready to add the field to the screen so all the users can see it!
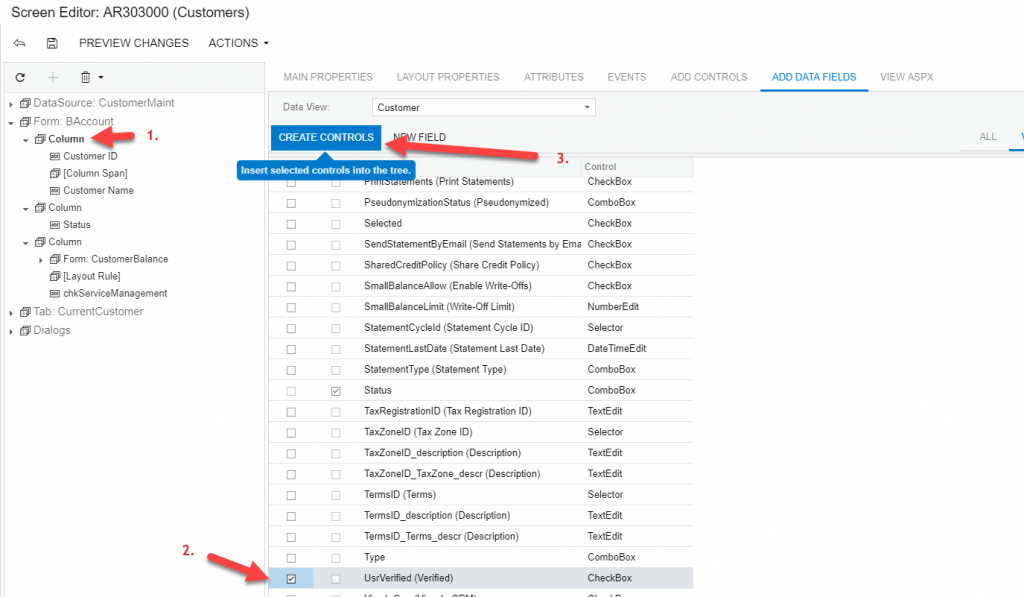
Select the column you wish to add the field to on the screen (see below screenshot). In my case, I’d like to add this field under the Customer Name so I will select the first column (step 1). Next select the checkbox to the left of your UsrVerified field (step 2), finally select the Create Controls button (step 3).
The field will be added to the column click and drag the field to bring it to directly after Customer Name.
Click “Save” and then “Preview Changes” to see what the field will look like on the screen. Other users will not be able to see the field yet until you Publish the Customization Project again. When you are ready to Publish, publish the customization like we did before.
We now have a fully functional field on our screen and in our database that can be used in reports, generic inquiries and various other places in Acumatica!
Now if all of that seems too complicated OR if perhaps you need more advanced customizations, then that’s where acu-connect members come in. acu-connect members range from Acumatica Gurus to Acumatica ISVs and Developers to Acumatica Consultants and VARs. All offering a wide array of solutions and services to fit your needs.
Additionally, Acumatica offers a wide selection of training videos (https://openuni.acumatica.com/) and has detailed help documentation available (help.acumatica.com).
With Acumatica ERP and the acu-connect community the possibilities are endless.
By Nicole Ronchetti, Enhancements Director
DSD Business Systems