If you find yourself clicking around multiple screens wishing you had easy access to your data, then you should check out Acumatica’s Quick Menu. It’s great, one of our customer favorites. The Quick Menu allows you to choose which screens you want displayed easily without much clicking around. The Quick Menu feature also allows you to set up email notifications based on actions being triggered. For example, an order failed the credit check and was left on hold, with the Quick Menu you can set up a notification on that order.
Recently, we had a client that ran across an issue where they couldn’t find the Notifications screen. We knew that Acumatica had an Automation Notifications screen, but we didn’t see it. Then we realized it’s not on the base menu in Acumatica 2017 or 2018. Luckily, we found that it really is a breeze to add things to your Quick Menu. Here’s how.
Steps to add missing screen to the Quick Menu
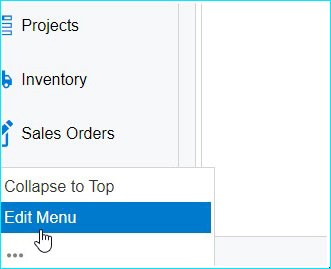
- Navigate to Edit Menu. Hint: it’s under the three dots in the lower left of the screen.
2. Click on Add Menu Item at the top of the screen.
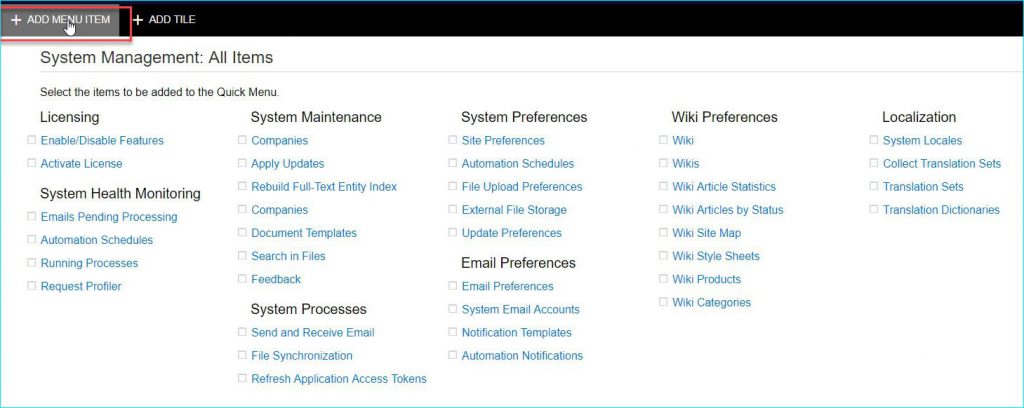
3. Then just check off the items you would like to add to your Quick Menu!
Now you will have the Automation Notifications (or any other screen you’d like) right at your fingertips!
The screen is there now, but why won’t the filters work?
Talking about missing screens, did you ever have an issue where you’re working with Acumatica and you create a filter on a screen and it disappears? We recently experienced this. Here’s how you fix a missing filter.
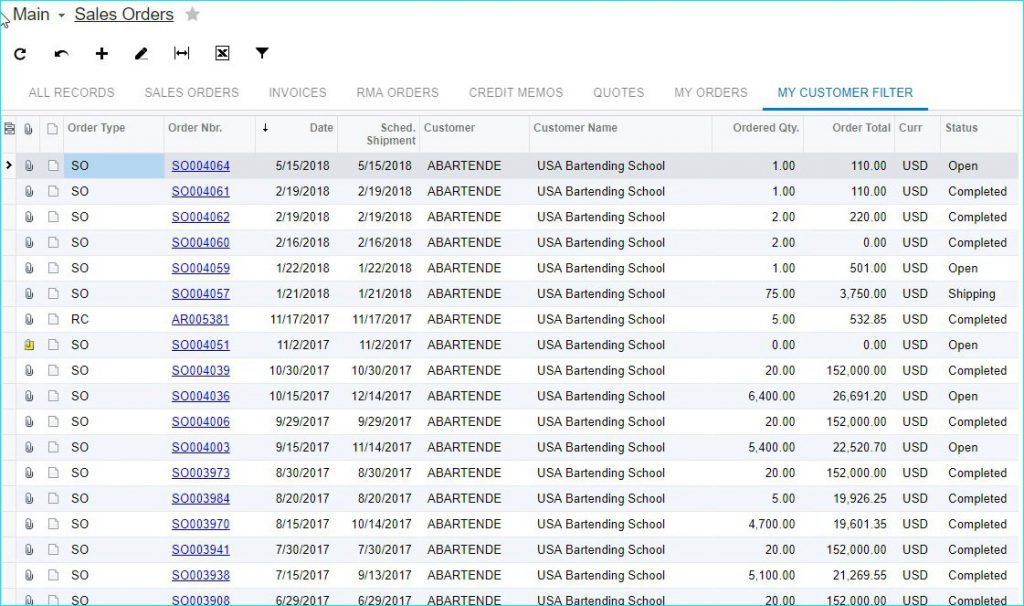
In this example, we filtered by customer. First, we edited the filter settings to our parameters and saved it.
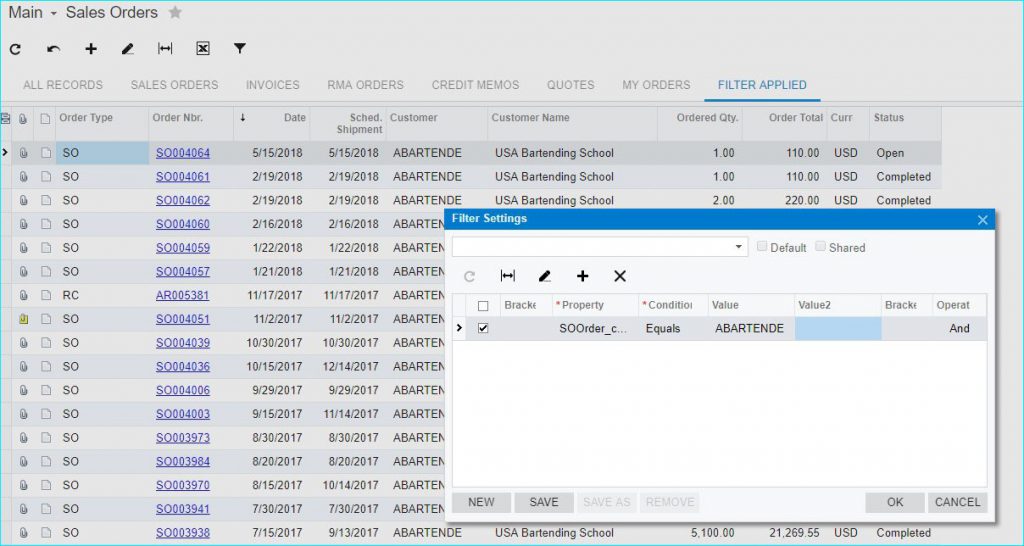
And it looked just fine and we saved it correctly.
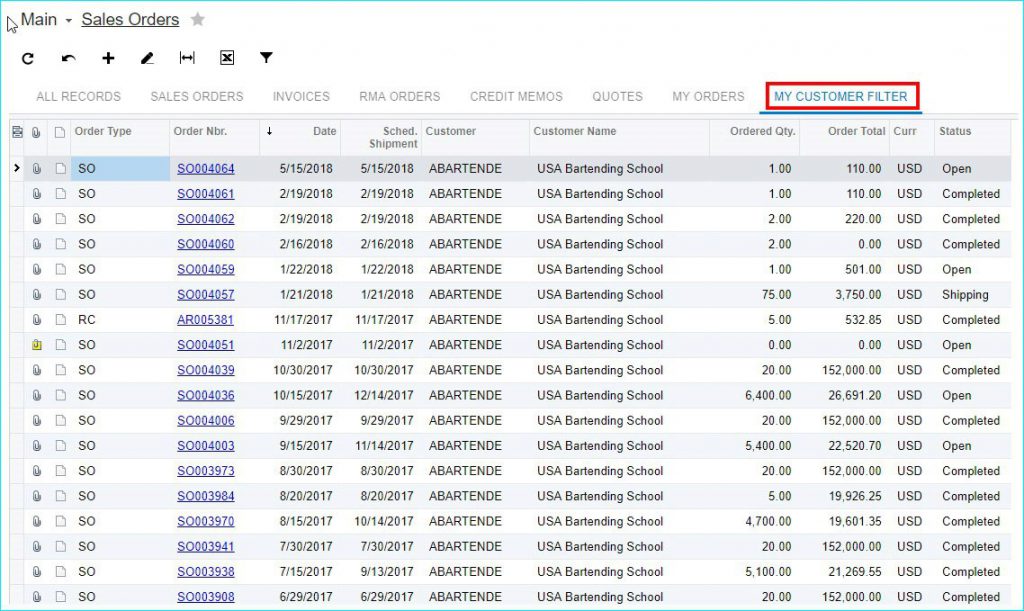
Then, we went back in to use the filter and it was gone!
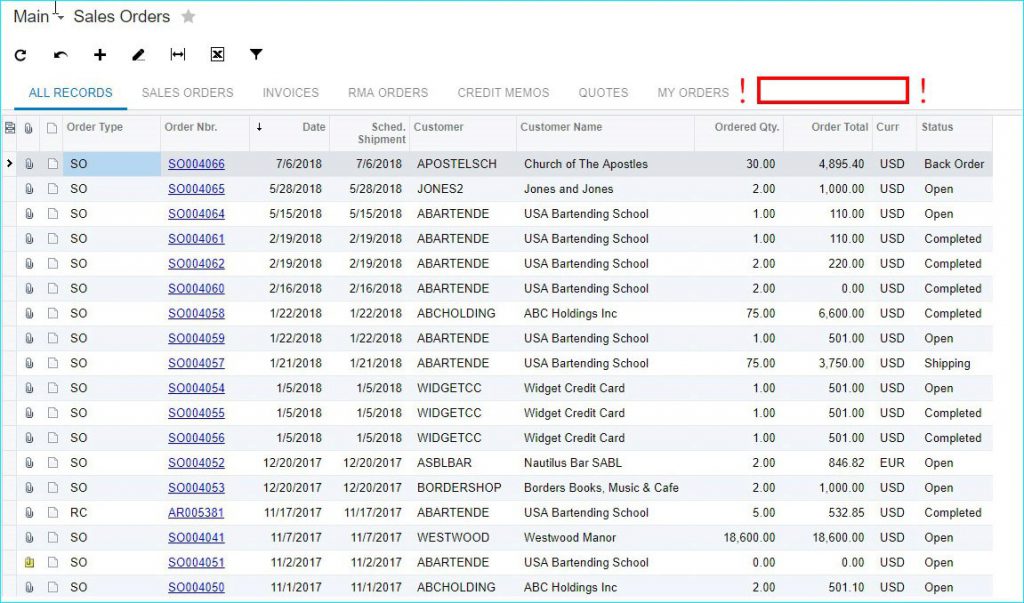
Why are my filters disappearing?
In order to utilize filters correctly, you need to give access rights.
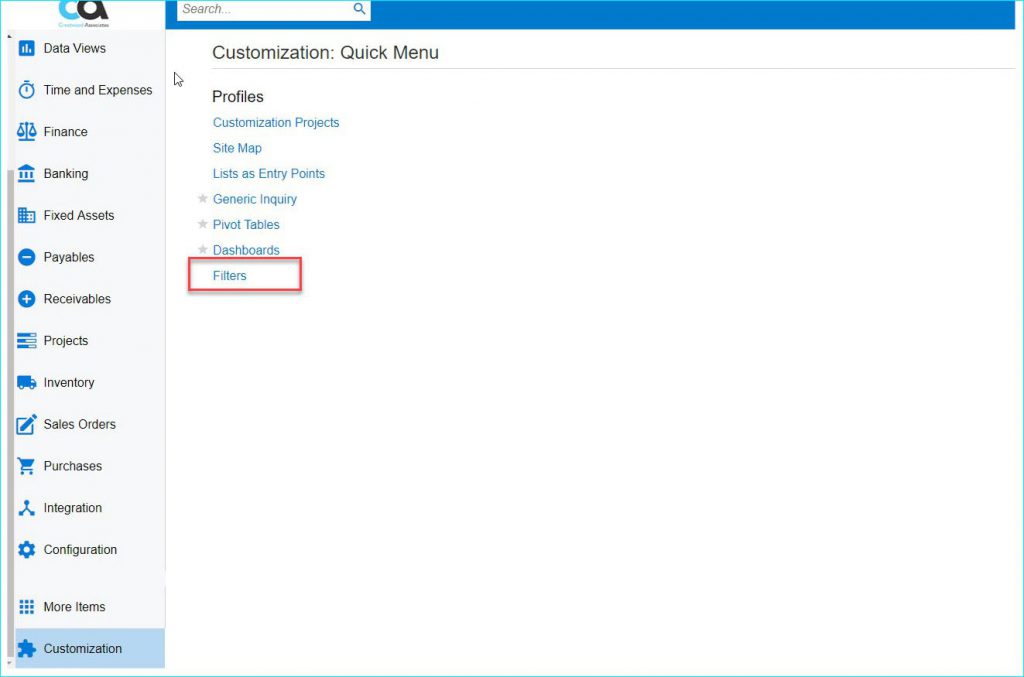
Find the group you want to give access here:
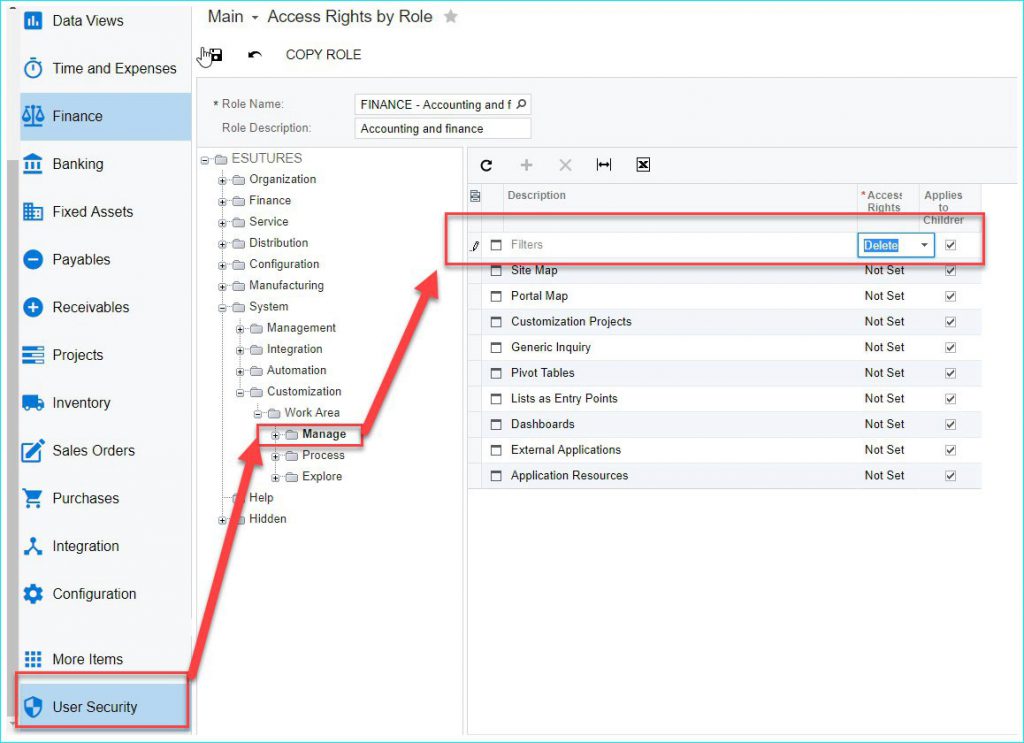
And now your filters, when you save them, will remain.
If you like this tip & trick, and want to learn more, visit our blog and learn more.
